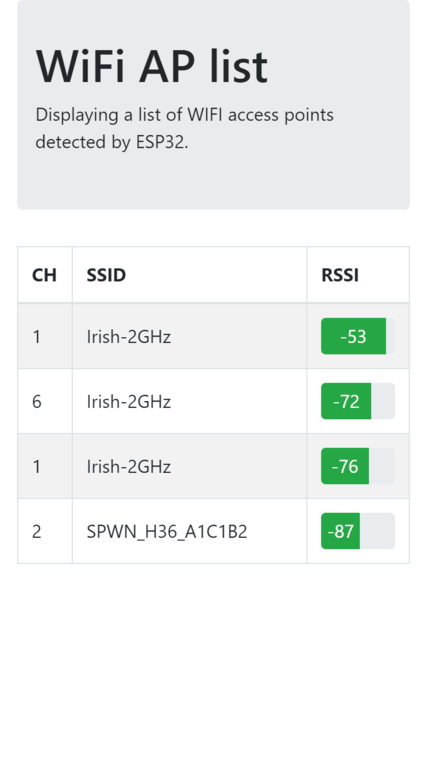
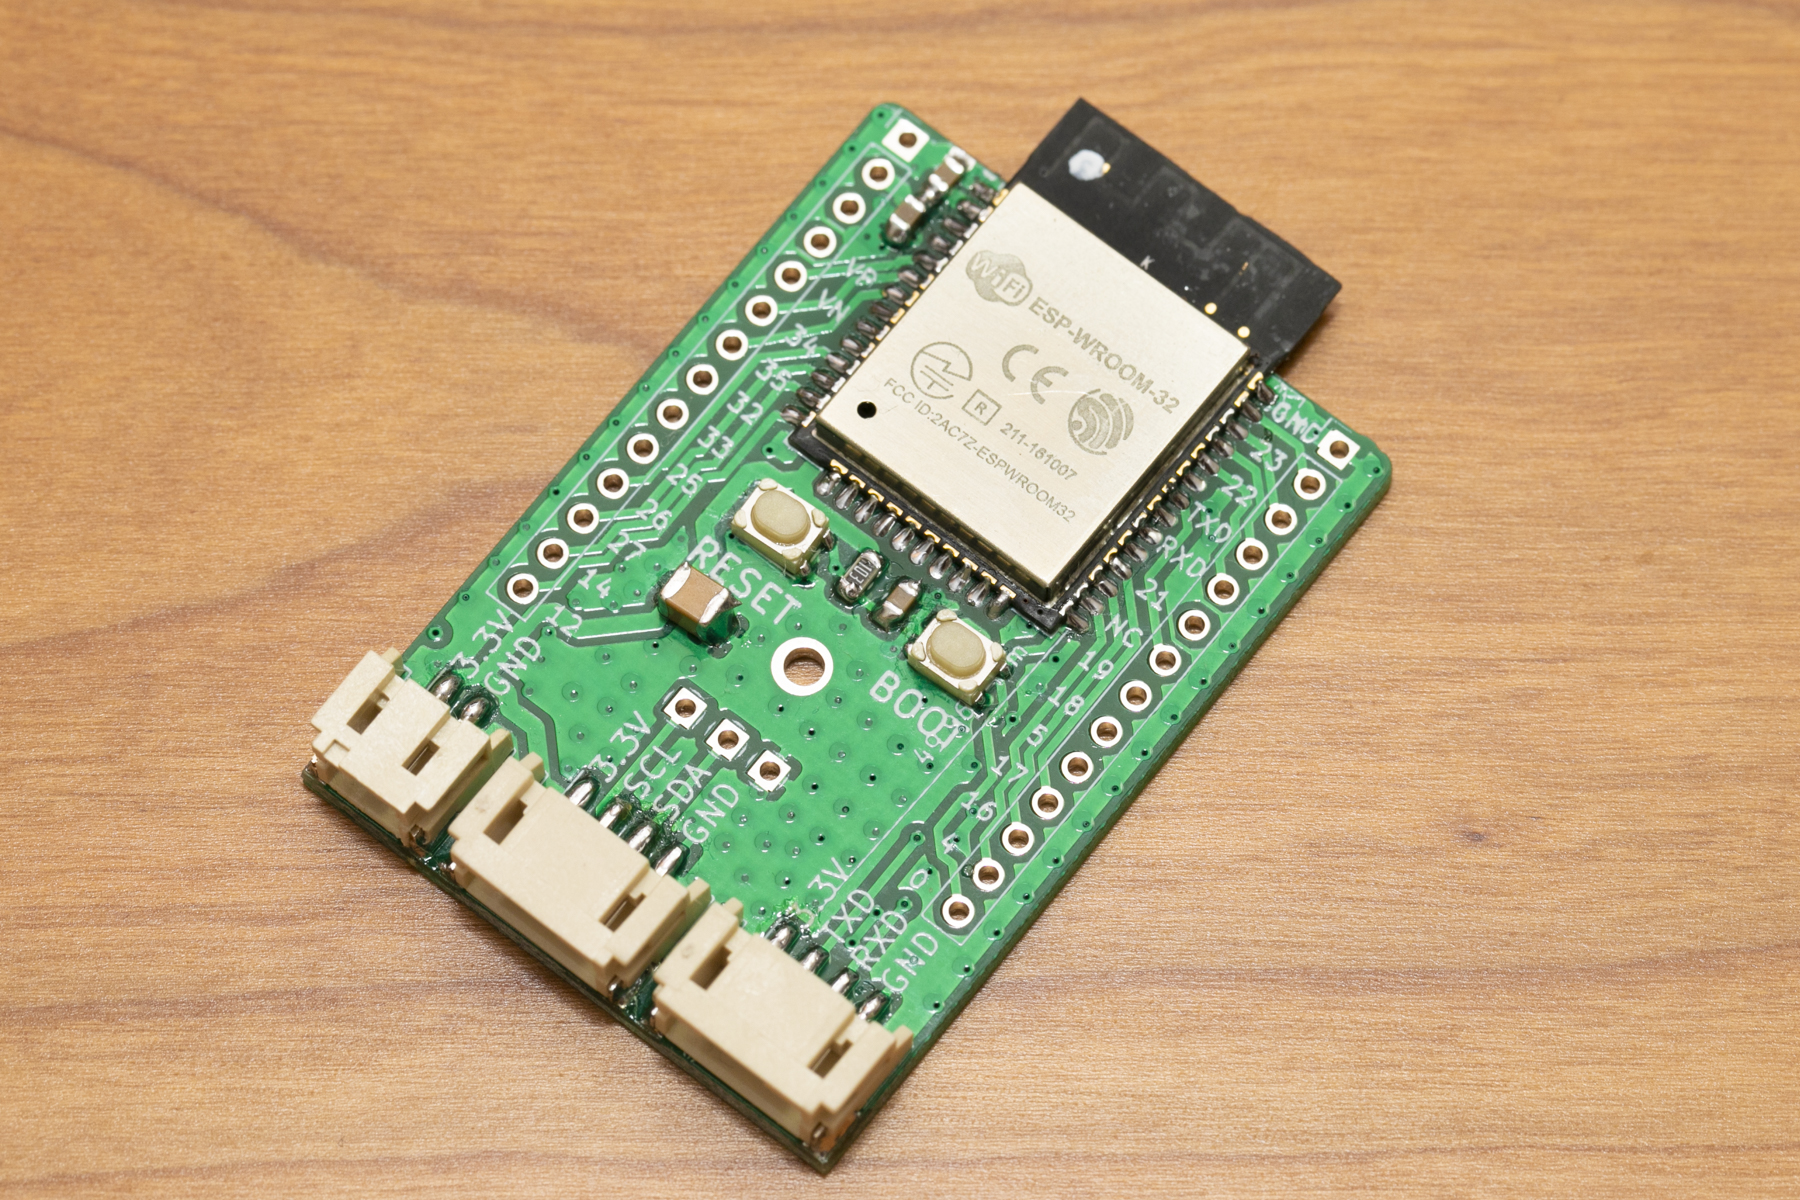
ESP32 で Web サーバを立てて,React アプリケーションを動かす方法を紹介します.
はじめに
大枠は,以前書いた『ESP32 で Angular アプリケーション』とほぼ同じです.
create-react-app を使って生成したファイルに対して必要な処置を順に説明します.
React 側の準備
React 側でやることは,大きく次の3つがあります.順に説明していきます.
- 配置パスの指定
- ファイル名のランダム化の停止
- ファイルの圧縮
配置パスの指定
React アプリを ESP32 で配信する場合,おそらく API サーバも ESP32 で動かすことになると思います.ルートではなく /app にアプリを配置し,API のエンドポイントを /api に配置すると,配信の際の扱いがしやすくなります.
配信パスの指定は,package.json に「”homepage”: “/app”,」を追加することで行います.「”version”:」の次の行当たりに挿入すれば OK.
ファイル名のランダム化の停止
create-react-app を使っている場合,そのままではランダム化を簡単に止めらませんので,まずは設定を部分的に上書きするために作られた react-app-rewired をインストールします.
|
1 |
npm install react-app-rewired --save-dev |
アプリのビルド時に react-app-rewired を使うようにするために,package.js の scripts を次のように書き換えます.
|
1 2 3 4 5 6 |
"scripts": { "start": "react-app-rewired start", "build": "react-app-rewired build", "test": "react-app-rewired test", "eject": "react-scripts eject" }, |
そのうえで,config-overrides.js というファイルを作成し,次の内容を設定します.
|
1 2 3 4 5 6 7 8 9 10 11 12 |
config-overrides.js module.exports = { webpack: function(config, env) { if (env === "production") { config.output.filename = '[name].js'; config.output.chunkFilename = '[name].chunk.js'; config.plugins[5].options.chunkFilename = '[name].css'; } return config; } }; |
ファイルの圧縮
React アプリはシンプルなものでもサイズがそれなりに大きくなってしまいます.小さなアプリであればそのままでも収まるかもしれませんが,ESP32 の Flash サイズは潤沢ではないので,gzip で圧縮して配信しておくのがおすすめです.
そのため,下記のような Makefile を使って圧縮されたファイルを生成するようにします.
|
1 2 3 4 5 6 7 8 9 10 11 12 13 14 15 16 17 18 19 20 21 |
DIST_PATH = ./build DIST_FILES = 2.chunk.js main.css main.chunk.js runtime~main.js favicon.ico all: build $(addsuffix .gz,$(addprefix $(DIST_PATH)/,$(DIST_FILES))) @echo "*BEFORE" @du -shc $(addprefix $(DIST_PATH)/,$(DIST_FILES)) @echo "*AFTER" @du -shc $(addsuffix .gz,$(addprefix $(DIST_PATH)/,$(DIST_FILES))) build: node_modules npm run build node_modules: npm install %.gz: % gzip -c --best $< > $@ .SUFFIXES: .gz .PHONY: all build |
実行すると下記のようになり,300KB あったものが 1/4 近くの 84KB になっていることが分かります.これなら,ROM サイズ(4MB)に対してかなり小さいので,サイズを気にせずにアプリ開発が行えます.
|
1 2 3 4 5 6 7 8 9 10 11 12 13 14 15 16 17 18 19 20 21 22 23 24 25 26 27 28 29 30 31 32 33 34 35 36 37 38 39 40 41 42 43 |
npm run build > wifi_ap_list@0.1.0 build /home/kimata/github/esp32_wifi_scan/react > react-app-rewired build Creating an optimized production build... Compiled successfully. File sizes after gzip: 44.06 KB build/2.chunk.js 22.26 KB build/main.css 1.09 KB build/main.chunk.js 756 B build/runtime~main.js The project was built assuming it is hosted at /app/. You can control this with the homepage field in your package.json. The build folder is ready to be deployed. Find out more about deployment here: https://bit.ly/CRA-deploy gzip -c --best build/2.chunk.js > build/2.chunk.js.gz gzip -c --best build/main.css > build/main.css.gz gzip -c --best build/main.chunk.js > build/main.chunk.js.gz gzip -c --best build/runtime~main.js > build/runtime~main.js.gz gzip -c --best build/favicon.ico > build/favicon.ico.gz *BEFORE 144K ./build/2.chunk.js 144K ./build/main.css 4.0K ./build/main.chunk.js 4.0K ./build/runtime~main.js 4.0K ./build/favicon.ico 300K total *AFTER 48K ./build/2.chunk.js.gz 24K ./build/main.css.gz 4.0K ./build/main.chunk.js.gz 4.0K ./build/runtime~main.js.gz 4.0K ./build/favicon.ico.gz 84K total |
ESP32 への組み込み
以上で準備したファイルを ESP32 から配信できるようにします.ESP-IDF の使用を前提に,順に説明していきます.
- ファームへのファイルの組み込み
- サーバによるファイルの配信
ファームへのファイルの組み込み
main/component.mk に次のように記載します.これにより,生成されるファイルに React アプリケーションが組み込まれるようになります.
「../react/build/」は,生成した React アプリケーションの相対パスで置き換えてください.
|
1 2 3 4 5 6 |
COMPONENT_EMBED_FILES += ../react/build/index.html COMPONENT_EMBED_FILES += ../react/build/main.css.gz COMPONENT_EMBED_FILES += ../react/build/main.chunk.js.gz COMPONENT_EMBED_FILES += ../react/build/2.chunk.js.gz COMPONENT_EMBED_FILES += ../react/build/runtime~main.js.gz COMPONENT_EMBED_FILES += ../react/build/favicon.ico.gz |
サーバによるファイルの配信
まずは全体像を示します.下記のコードで Angular アプリを配信できるようになります.
APP_PATH は,Angular アプリをビルドしたときの --base-href= の指定と合わせておきます.
|
1 2 3 4 5 6 7 8 9 10 11 12 13 14 15 16 17 18 19 20 21 22 23 24 25 26 27 28 29 30 31 32 33 34 35 36 37 38 39 40 41 42 43 44 45 46 47 48 49 50 51 52 53 54 55 56 57 58 59 60 61 62 63 64 65 66 67 68 69 70 71 72 73 74 75 76 77 78 79 80 81 82 83 84 85 86 87 88 89 90 91 92 93 94 95 96 97 98 99 |
#include <string.h> #include "app_log.h" #include "http_task.h" #define ARRAY_SIZE_OF(a) (sizeof(a) / sizeof(a[0])) #define APP_PATH "/app" extern const unsigned char index_html_start[] asm("_binary_index_html_start"); extern const unsigned char index_html_end[] asm("_binary_index_html_end"); extern const unsigned char main_css_start[] asm("_binary_main_css_gz_start"); extern const unsigned char main_css_end[] asm("_binary_main_css_gz_end"); extern const unsigned char main_chunk_js_start[] asm("_binary_main_chunk_js_gz_start"); extern const unsigned char main_chunk_js_end[] asm("_binary_main_chunk_js_gz_end"); extern const unsigned char two_chunk_js_start[] asm("_binary_2_chunk_js_gz_start"); extern const unsigned char two_chunk_js_end[] asm("_binary_2_chunk_js_gz_end"); extern const unsigned char runtime_main_js_start[] asm("_binary_runtime_main_js_gz_start"); extern const unsigned char runtime_main_js_end[] asm("_binary_runtime_main_js_gz_end"); typedef struct static_content { const char *path; const unsigned char *data_start; const unsigned char *data_end; const char *content_type; bool is_gzip; } static_content_t; static static_content_t content_list[] = { { "index.htm", index_html_start, index_html_end, "text/html", false, }, { "main.css", main_css_start, main_css_end, "text/css", true, }, { "main.chunk.js", main_chunk_js_start, main_chunk_js_end, "text/javascript", true, }, { "2.chunk.js", two_chunk_js_start, two_chunk_js_end, "text/javascript", true, }, { "runtime~main.js", runtime_main_js_start, runtime_main_js_end, "text/javascript", true, }, { "favicon.ico", favicon_ico_start, favicon_ico_end, "image/x-icon", true, }, }; static esp_err_t http_handle_app(httpd_req_t *req) { static_content_t *content = NULL; for (uint32_t i = 0; i < ARRAY_SIZE_OF(content_list); i++) { if (strstr(req->uri, content_list[i].path) != NULL) { content = &(content_list[i]); } } if (content == NULL) { content = &(content_list[0]); } ESP_ERROR_CHECK(httpd_resp_set_type(req, content->content_type)); if (content->is_gzip) { ESP_ERROR_CHECK(httpd_resp_set_hdr(req, "Content-Encoding", "gzip")); } ESP_ERROR_CHECK(httpd_resp_send(req, (const char *)content->data_start, content->data_end - content->data_start)); return ESP_OK; } static esp_err_t http_handle_app_redirect(httpd_req_t *req) { ESP_ERROR_CHECK(httpd_resp_set_status(req, "301 Moved Permanently")); ESP_ERROR_CHECK(httpd_resp_set_hdr(req, "Location", APP_PATH "/")); ESP_ERROR_CHECK(httpd_resp_sendstr(req, NULL)); return ESP_OK; } httpd_uri_t http_uri_app = { .uri = APP_PATH "*", .method = HTTP_GET, .handler = http_handle_app, .user_ctx = NULL }; httpd_uri_t http_uri_app_redirect = { .uri = "/", .method = HTTP_GET, .handler = http_handle_app_redirect, .user_ctx = NULL }; httpd_handle_t http_task_start(void) { httpd_handle_t server = NULL; httpd_config_t config = HTTPD_DEFAULT_CONFIG(); config.uri_match_fn = httpd_uri_match_wildcard; ESP_ERROR_CHECK(httpd_start(&server, &config)); ESP_ERROR_CHECK(httpd_register_uri_handler(server, &http_uri_app)); ESP_ERROR_CHECK(httpd_register_uri_handler(server, &http_uri_app_redirect)); return server; } void http_task_stop(httpd_handle_t server) { ESP_ERROR_CHECK(httpd_stop(server)); } |
コードのポイントを順に説明します.
ファイルデータの取得
COMPONENT_EMBED_FILES で指定して組み込んだファイルデータの開始・終了アドレスは,次のようにして取得できます.
|
1 2 |
extern const unsigned char index_html_start[] asm("_binary_index_html_start"); extern const unsigned char index_html_end[] asm("_binary_index_html_end"); |
アドレスさえ取得できれば,あとは httpd_resp_send_chunk にて送信データとして指定してやれば配信できます.
gzip ファイルの配信
上のほうで HTML 以外は gzip で圧縮しました.そのため,次のようにして,圧縮されていることをブラウザーに通知します.
|
1 |
httpd_resp_set_hdr(req, "Content-Encoding", "gzip") |
パスのワイルドカード指定
ESP32 の HTTP Server ライブラリでは,パスに対応するハンドラ関数を指定してやる必要がありますが,React のように複数のファイルがある場合,ファイル毎に関数を用意するのは手間です.
そこで,ワイルドカードによる指定を行えるようにするため,下記のようにします.
|
1 |
config.uri_match_fn = httpd_uri_match_wildcard; |
その上で,次のようにすると,/app 以下の全てのアクセスに対して http_handle_app が呼ばれるようになります.(下記では APP_PATH マクロを展開しています)
|
1 2 3 4 5 6 |
httpd_uri_t http_uri_app = { .uri = "/app*", .method = HTTP_GET, .handler = http_handle_app, .user_ctx = NULL }; |
あとは,http_handle_app の中で,req->uri を基にどのファイルへのアクセスか判定して,適切なファイルを配信してやれば OK.
動作確認
Wifi 接続が完了したタイミングで次の関数を呼んでおけば,React アプリを実行できるようになっています.
|
1 |
http_task_start(); |
サンプル
サンプルとして,ESP32 が検出した WiFI アクセスポイントの表示を行う esp32_wifi_scan を github に登録してありますので,適宜参考にしてください.


コメント