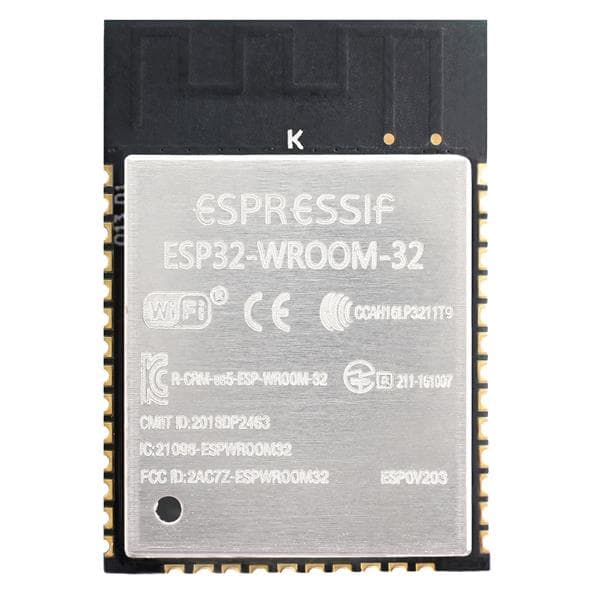
Arduino for ESP32 を使えばネットワーク経由でファームの書き換えが行えますが,ESP-IDF を使って同じことを実現する方法を紹介します.
背景
無線 LAN 経由で ESP32 のファームを書き換えたくなったとき,Arduino for ESP32 なら簡単にできるものの,ESP-IDF のみだと簡単にできる定番のものがありません.
機能的には下記のものがやりたいことに最も近かったのですが,スクラッチでサーバが書かれているので,UI を工夫しようとしたときにちょと大変そう.
ESP-IDF OTA template app
https://github.com/yanbe/esp-idf-ota-template
そこで,esp_http_server を利用する形で書いてみることにしました.
OTA に必要な処理
ESP-IDF には OTA 用のライブラリが用意されているので,やることは簡単.基本的に次の処理を行えば OK です.
|
1 2 3 4 5 6 7 8 9 10 11 12 13 |
const esp_partition_t *part; esp_ota_handle_t handle; // STEP 1. 書き込むパーティションを取得. part = esp_ota_get_next_update_partition(NULL); // STEP 2. OTA を開始.(total_size が不明の場合は OTA_SIZE_UNKNOWN を指定) ESP_ERROR_CHECK(esp_ota_begin(part, total_size, &handle)); // STEP 3. ファームを書き込み.複数回に分けて書き込み OK. ESP_ERROR_CHECK(esp_ota_write(handle, buf, recv_size)); // STEP 4. OTA を完了. ESP_ERROR_CHECK(esp_ota_end(handle)); // STEP 5. 今回書き込んだファームで次回ブートするように指定. ESP_ERROR_CHECK(esp_ota_set_boot_partition(part)); |
ネットワーク経由で書き換えを行う場合,ファームを小分けに受信しながら STEP 3. を繰り返すことになります.
コード
先ほどの内容を踏まえて,HTTP 経由で OTA できるようにするコードがこちら.
|
1 2 3 4 5 6 7 8 9 10 11 12 13 14 15 16 17 18 19 20 21 22 23 24 25 26 27 28 29 30 31 32 33 34 35 36 37 38 39 40 41 42 43 44 45 46 47 48 49 50 51 52 53 54 55 56 57 58 59 60 61 62 63 64 65 66 67 68 69 70 71 72 73 74 75 76 77 78 79 80 81 82 83 84 85 86 87 88 89 90 91 92 93 94 95 96 97 98 99 100 101 102 |
#include "esp_ota_ops.h" #include "app.h" #include "http_ota_handler.h" #include "part_info.h" #define BUF_SIZE 1024 static void restart_task(void *param) { vTaskDelay(3000 / portTICK_PERIOD_MS); ESP_LOGI(TAG, "Restart..."); esp_restart(); } static esp_err_t http_handle_ota(httpd_req_t *req) { const esp_partition_t *part; esp_ota_handle_t handle; char buf[BUF_SIZE]; int total_size; int recv_size; int remain; uint8_t percent; ESP_LOGI(TAG, "Start to update firmware."); ESP_ERROR_CHECK(httpd_resp_set_type(req, "text/plain")); ESP_ERROR_CHECK(httpd_resp_sendstr_chunk(req, "Start to update firmware.\n")); part = esp_ota_get_next_update_partition(NULL); part_info_show("Target", part); total_size = req->content_len; ESP_LOGI(TAG, "Sent size: %d KB.", total_size / 1024); ESP_ERROR_CHECK(httpd_resp_sendstr_chunk(req, "0 20 40 60 80 100%\n")); ESP_ERROR_CHECK(httpd_resp_sendstr_chunk(req, "|---------+---------+---------+---------+---------+\n")); ESP_ERROR_CHECK(httpd_resp_sendstr_chunk(req, "*")); ESP_ERROR_CHECK(esp_ota_begin(part, total_size, &handle)); remain = total_size; percent = 2; while (remain > 0) { if (remain < sizeof(buf)) { recv_size = remain; } else { recv_size = sizeof(buf); } recv_size = httpd_req_recv(req, buf, recv_size); if (recv_size <= 0) { if (recv_size == HTTPD_SOCK_ERR_TIMEOUT) { continue; } httpd_resp_send_err(req, HTTPD_500_INTERNAL_SERVER_ERROR, "Failed to receive firmware."); return ESP_FAIL; } ESP_ERROR_CHECK(esp_ota_write(handle, buf, recv_size)); remain -= recv_size; if (remain < (total_size * (100-percent) / 100)) { httpd_resp_sendstr_chunk(req, "*"); percent += 2; } } ESP_ERROR_CHECK(esp_ota_end(handle)); ESP_ERROR_CHECK(esp_ota_set_boot_partition(part)); ESP_LOGI(TAG, "Finished writing firmware."); httpd_resp_sendstr_chunk(req, "*\nOK\n"); httpd_resp_sendstr_chunk(req, NULL); xTaskCreate(restart_task, "restart_task", 1024, NULL, 10, NULL); return ESP_OK; } static httpd_uri_t http_uri_ota = { .uri = "/ota/", .method = HTTP_POST, .handler = http_handle_ota, .user_ctx = NULL }; void http_ota_handler_install(httpd_handle_t server) { ESP_ERROR_CHECK(httpd_register_uri_handler(server, &http_uri_ota)); #ifdef CONFIG_APP_ROLLBACK_ENABLE esp_ota_img_states_t ota_state; if (esp_ota_get_state_partition(esp_ota_get_running_partition(), &ota_state) == ESP_OK) { if (ota_state == ESP_OTA_IMG_PENDING_VERIFY) { ESP_LOGI(TAG, "Marking OTA firmware as valid."); ESP_ERROR_CHECK(esp_ota_mark_app_valid_cancel_rollback()); } } #endif } |
動かすには,下記のように http_ota_handler_install を呼び出してやります.すでに HTTP サーバを動かしている場合は,最後の一行を追加するだけです.
|
1 2 3 4 5 |
httpd_handle_t server = NULL; httpd_config_t config = HTTPD_DEFAULT_CONFIG(); ESP_ERROR_CHECK(httpd_start(&server, &config)); http_ota_handler_install(server); |
使い方
準備として,次の内容を Makefile に追記します.
|
1 2 3 4 5 6 7 |
ota: all ifeq ($(strip $(IP_ADDR)),) @echo "\nERROR: Please specify IP_ADDR." else curl $(IP_ADDR)/ota/ --write-out 'Elapsed Time: %{time_total}s (speed: %{speed_upload} bytes/sec)\n' \ --no-buffer --data-binary @- < build/$(PROJECT_NAME).bin endif |
その上で次のようにすると,OTA が始まります.(192.168.2.169 は ESP32 の IP アドレス)
|
1 |
% make ota IP_ADDR=192.168.2.169 |
実際に動かすと下のようになります.
快適です.


コメント